
Step-by-step guide to dog tick removal.
No matter how careful you might be, chances are your dog will pick up a tick if they spend any time outside. Ticks are stubborn parasites commonly found in long grass and woodland areas. They latch on as your dog passes by, and once they’ve attached, they can be difficult to remove.
Though ticks will drop off your dog after they’ve finished feeding, this process can take days, during which time the tick can transmit diseases — including Lyme disease — to your pet that can cause serious health problems. The longer they stay attached, the greater the risk of infection. That’s why it’s important to remove a tick as soon as you see one on your dog. Here’s how to do it safely.
How to Remove a Tick from a Dog in 8 Steps
1. Gather Your Supplies
The first thing you need to start the tick removal process is a tick-removal tool specifically designed to help you safely remove ticks from your dog in one piece. You may also use tweezers with a pointed end if you don’t have a tick-removal tool.
You should also wear a set of gloves to protect your hands during the process. Always wear gloves when dealing with ticks: The ticks found on your dog are very effective disease carriers, and some of these diseases can also affect you and your family.
Finally, have a pet-friendly antiseptic, disinfectant and a sealed container handy to dispose of the tick after you remove it.
2. Keep Your Dog Calm and Relaxed
Only try to remove ticks from your dog when they are calm and lying down. Wait until your dog is still enough for you to get a good grasp of the tick with the removal tool. If you try to pull it out quickly, you risk leaving the tick head stuck in your dog, which can increase the risk of infection. It will be easier to remove the tick in one piece if your dog is still. A bone or treat may help keep them occupied while you work to remove the tick.
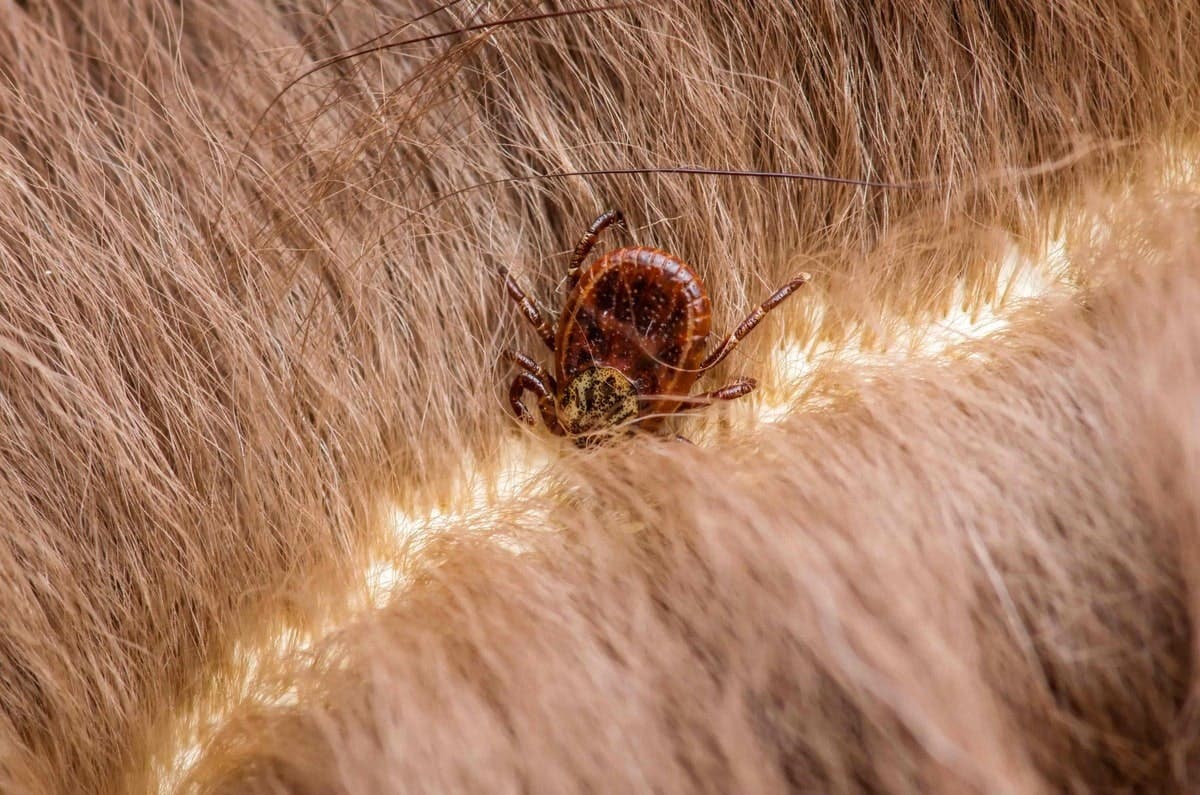
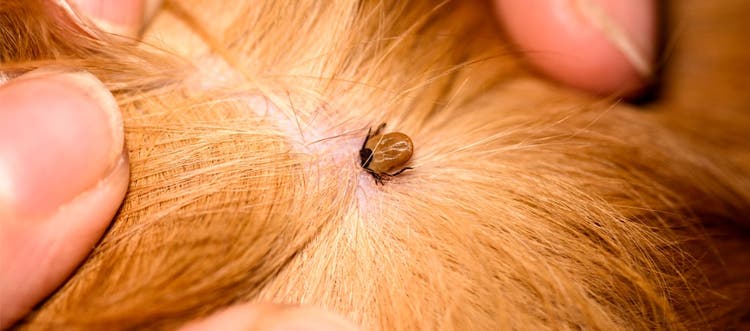
3. Expose the Tick
Put on your gloves and use water or rubbing alcohol to flatten your dog's hair around the tick. Gently part your dog’s fur around the tick and keep it flat with one hand, leaving your other hand free to pull the tick out.
Take your time with this step to successfully remove the tick. Since it has already latched onto your dog, it will stay in place and may not move around after you expose it. Ticks bury their head into the dog's skin so their abdomen is the only visible part, so be careful not to leave the head embedded when removing the tick.
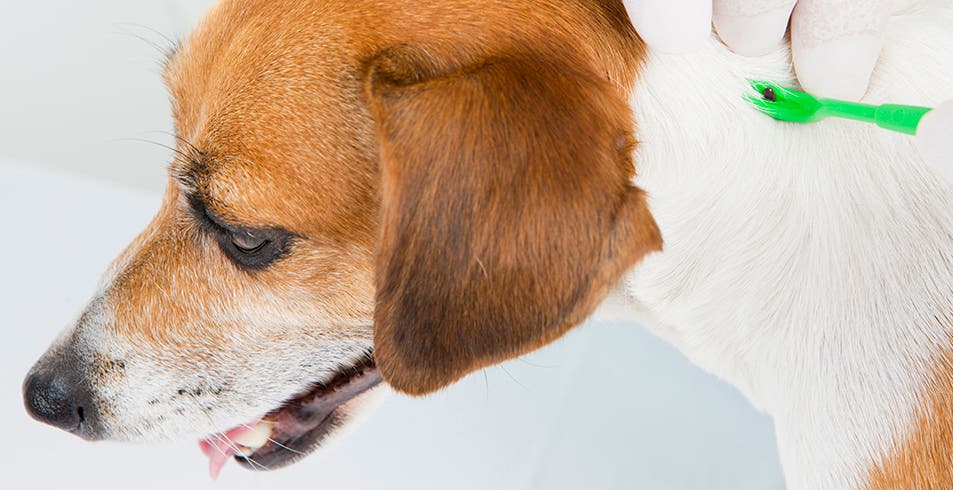
4. Use a Tick-removal Tool to Pull the Tick from Your Dog
A tick hook is shaped to get under the parasite’s body and pull it out in one motion without squeezing; squeezing the tick could push bacteria-rich tick saliva into the bite wound. These tools can be bought from your local vet’s office as well as some supermarkets and online retailers.
Follow the instructions on your tick-removal tool to remove the tick. The general process is usually:
- Slowly slide the tool underneath the tick.
- Pinch and pull gently.
- Move steadily and straight upward to remove the tick.
Regular tweezers are not generally recommended for tick removal, as these are more likely to crush the tick or leave the tick head embedded in your dog. If you’re using tweezers, pull the tick out in one straight motion. Don't squeeze too hard, pull too fast or twist the tweezers.
5. Clean the Tick Bite
Gently wipe the affected area on your dog with an antiseptic designed for pets, or use soap and water.
6. Check for Other Ticks on Your Dog
After you have removed the tick, there's a good chance there will be another one on your dog's body, so be sure to check their coat thoroughly. Also check their feet, foot pads and ears, as ticks often frequent these areas.
7. Dispose of the Tick
After you remove the tick, take a picture of it and then place it in a lidded jar or sealable container with alcohol, close the lid and throw it away. Another option is to tape the tick to a piece paper, which will dry out the tick, effectively killing it. Throw away the piece of paper after snapping a photo.
Why take a photo before disposing of the tick? If you have a picture, you can show it to your vet for identification in the event that your dog starts to show any symptoms of tick diseases.
Be sure to throw away the gloves and wash your hands thoroughly afterward. Clean your tick tool with disinfectant and store it somewhere safely for future use.
8. Watch for Tick Disease Symptoms
Monitor your dog for any changes in behavior over the weeks or months following tick removal, and visit your vet if any unusual symptoms arise, such as lethargy or lack of energy, difficulty using one or more legs (lameness), or rapid breathing.
What to Do If the Tick's Head Is Stuck in Your Dog's Skin
It’s not uncommon for the tick’s head or mouthparts to break off as you remove it. If this happens and you can still see and grasp the embedded tick parts, you can try to pull the remaining parts out of your dog’s skin. If you’re unsuccessful or can’t get a good grasp, you have two options: Leave the area alone and let your dog’s body work the mouthparts out on its own, or make an appointment with your vet.
No matter which option you choose, avoid poking or prodding at the embedded tick parts; doing so can both be painful for your dog and push the tick further into your dog’s skin, which could cause irritation and infection.
If you leave the head in your dog’s skin, wash the area with warm soapy water. Over the next few days, check the area to ensure it’s healing properly and doesn’t look red or inflamed; contact your vet if you notice any signs of infection.
Prevent Ticks on Your Dog in the First Place
No one wants to go through the process of removing a tick from their dog. Luckily, there are steps dog owners can take to help protect their pups from these disease-carrying pests. Protecting your dog with a tick preventive, such as a monthly spot-on treatment or flea and tick collar, may help avoid this unpleasant process — both for you and your pet.

Seresto® Flea & Tick Collar for Dogs
An easy-to-use, odorless, non-greasy collar that kills and repels fleas and ticks for 8 continuous months.

Credelio® (lotilaner)
As a trusted resource, your vet can provide additional information on how prescription-only Credelio can protect your dog from ticks and fleas all year long when taken monthly.

K9 Advantix® II
A convenient, monthly topical application that kills and repels fleas, ticks and mosquitoes through contact, so they don't have to bite your dog to die. Do not use on cats.
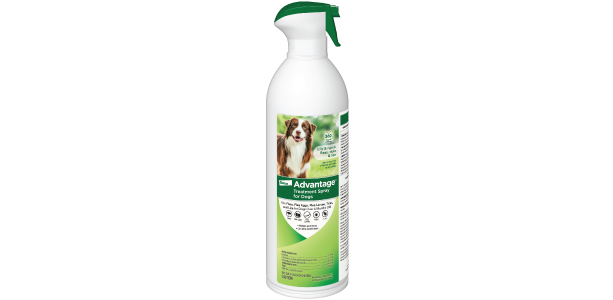
Advantage® Treatment Spray for Dogs
Kills fleas, ticks and lice. The active ingredients inhibit development of immature flea stages (preadult fleas and flea eggs) as well, which prevents them from growing into adult fleas that are capable of biting.
Related Articles


Credelio® (lotilaner)
Indications:
Credelio kills adult fleas and is indicated for the treatment and prevention of flea infestations and treatment and control of tick infestations (lone star tick, American dog tick, black-legged tick, and brown dog tick) for one month in dogs and puppies 8 weeks and older and 4.4 pounds or greater.
Important Safety Information:
Lotilaner is a member of the isoxazoline class of drugs. This class has been associated with neurologic adverse reactions including tremors, incoordination, and seizures. Seizures have been reported in dogs receiving this class of drugs, even in dogs without a history of seizures. Use with caution in dogs with a history of seizures or neurologic disorders. The safe use of Credelio in breeding, pregnant or lactating dogs has not been evaluated. The most frequently reported adverse reactions are weight loss, elevated blood urea nitrogen, increased urination, and diarrhea. For complete safety information, please see Credelio product label or ask your veterinarian.